

Checklist: how to prepare for your wallpaper project
Check, check, check…! Good preparation is half the work. Follow our tips to get your wallpaper project off to a smooth start.
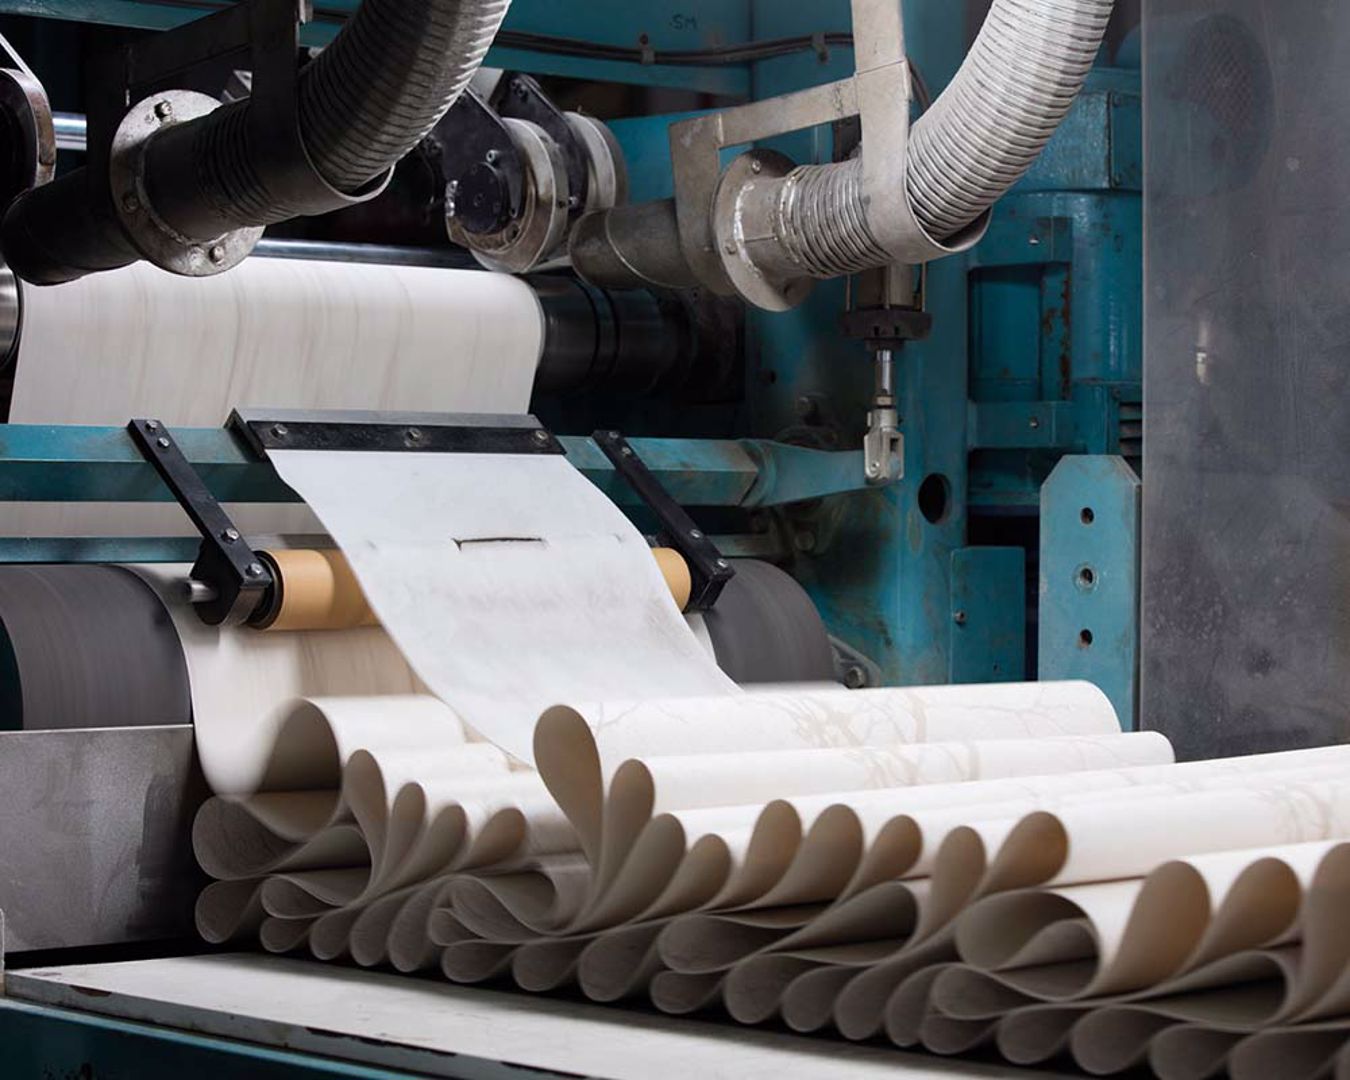
.jpg "jungle fever 4")
1. Choose your wallpaper
You can choose from a variety of different types of wallpaper, such as non-woven, paper or vinyl wallpaper. Vinyl wallpaper has a PVC top layer. This makes it easy to clean. When hanging vinyl wallpaper, you also paste the wall and not the wallpaper, thus eliminating the need for a pasting table!
Vinyl wallpaper has a PVC top layer. This makes it easy to clean
Tip: when purchasing your wallpaper, check that the production and batch numbers are the same on all rolls. That way you can be sure that each roll is exactly the same colour.
2. Calculate the number of rolls
We show you how to calculate the required number of rolls by means of an example. The wall in this example is 400 cm wide and 260 cm high. The wallpaper roll is 53 cm wide and 10 m long.
.jpg "pp1101 pp1106,pp1108 d")
Step 1: calculate the number of strips
Measure the width of the wall or walls that you plan to wallpaper. Divide the width of the wall by the width of the roll. Round up the result for the required number of strips.
Ex. 400 cm (wall width) / 53 cm (roll width) = 7.54 strips
Once rounded up, you require 8 strips.
Step 2: calculate how many strips you can obtain from one roll
Divide the total length of the roll by the height of your wall. We recommend including a surplus of 5 to 10 centimetres that can be cut from the top and bottom of each strip.
Ex. 1000 cm (roll length) / 260 cm + 10 cm (wall height + surplus) = 3.7
Round down the result. In this case you can get 3 complete strips from one roll of wallpaper.
Step 3: divide the required number of strips by the number of strips per roll
8 / 3 = 2.33
Once rounded up, you therefore require 3 rolls of wallpaper.
Don’t forget to factor in wastage. If you order patterned wallpaper, then you’ll need to match the patterns on the various strips.
This can result in wastage. The bigger the motif, the more potential wastage you’ll have… You can use large pieces of wastage for short strips, such as above doors etc.
3. Prepare the surface of your walls
Make sure that the wall surface is smooth, even and dry. Otherwise it’s impossible to achieve flawless results. Indeed, failure to do so will quickly lead to bubbles and imperfections that ruin the entire “look” of your room.
- Remove old wallpaper remnants or peeling paint or plaster from the walls.
- Fill holes and imperfections. You can sand bumps or protrusions using sandpaper and fill small holes and cracks with a quick-drying filler.
- Allow new plaster to dry for at least six months prior to wallpapering it.
Once you’ve removed the old wallpaper and repaired any damage or imperfections, your wall is finally ready for wallpapering.
4. Free up sufficient space
Free up sufficient space in your room for unhindered access. Cover the floor with plastic film or cardboard to protect it from paste spillage and remove all electrical sockets, hooks and nails from the walls.
5. Ensure an ambient room temperature
The temperature of the room that you’re wallpapering should be between 18°C to 20°C for optimal results. Close windows and doors and turn off the heating, to enable your wallpaper to dry in the right conditions. Otherwise it can dry too quickly, resulting in unwelcome shrinkage at the seams.
6. Supplies
This list might seem lengthy at first glance, but most items are common household essentials:
- Wall filler, putty knife and sandpaper (If the wall requires levelling)
- Wallpaper rolls (obviously ;-))
- Wallpaper paste (Each type of wallpaper requires a specific wallpaper paste. Check which wallpaper paste you require in advance)
- Step ladder
- Bucket + stirrer. Use two separate buckets: one for the wallpaper paste and another for fresh water. That way you can quickly remove any spillages or wash your hands using clean water.
- Sharp utility knife and spare blades (Use new blades. This makes cutting edges easier and ensures optimal results.)
- Spatula
- Spirit level
- Tape measure
- Scissors
- Pencil
- Paint roller
- Pasting brush (To facilitate the pasting of edges and corners)
- Clean cloths
- Rubbish bags (Immediately dispose of all wallpaper remnants in a rubbish bag to keep your workplace tidy.)
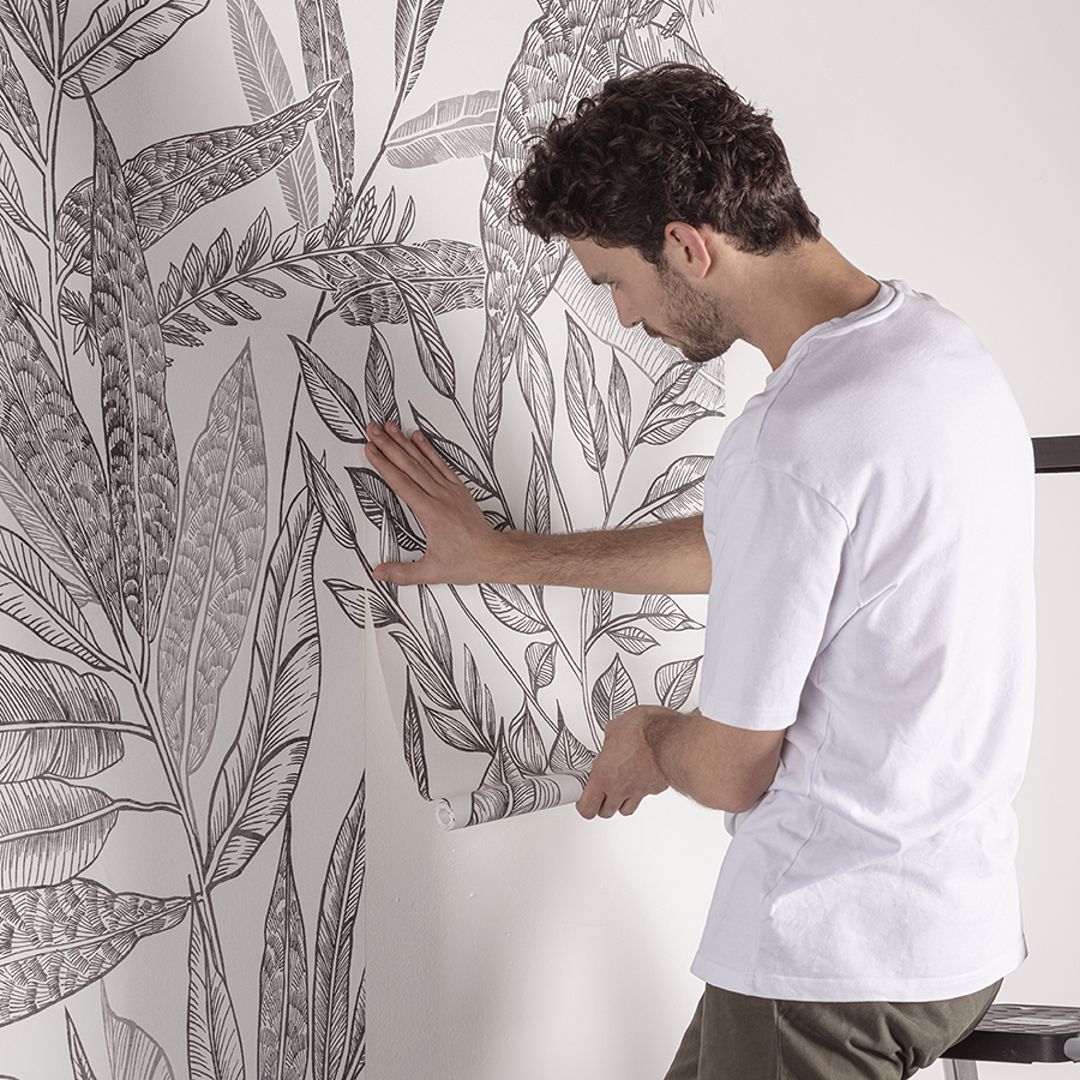
.png "2 jb2 5284")
Et voilà! You’re now all set to get started. Require tips on hanging wallpaper? Watch our video tutorial here.