1. Home
  2. Inspiration
  3. How to
  4. How to hang Paste The Wall wallpaper

How to hang Paste The Wall wallpaper

Decorating a room with Grandeco wallpaper is a fun and creative activity, and far easier than many people imagine. Follow these simple steps, with Grandeco as your guide, or watch our how-to video to successfully transform any room into a beautiful living space that can be enjoyed for years to come. Get started with Grandeco wallpaper and decorate your life with a personal touch!

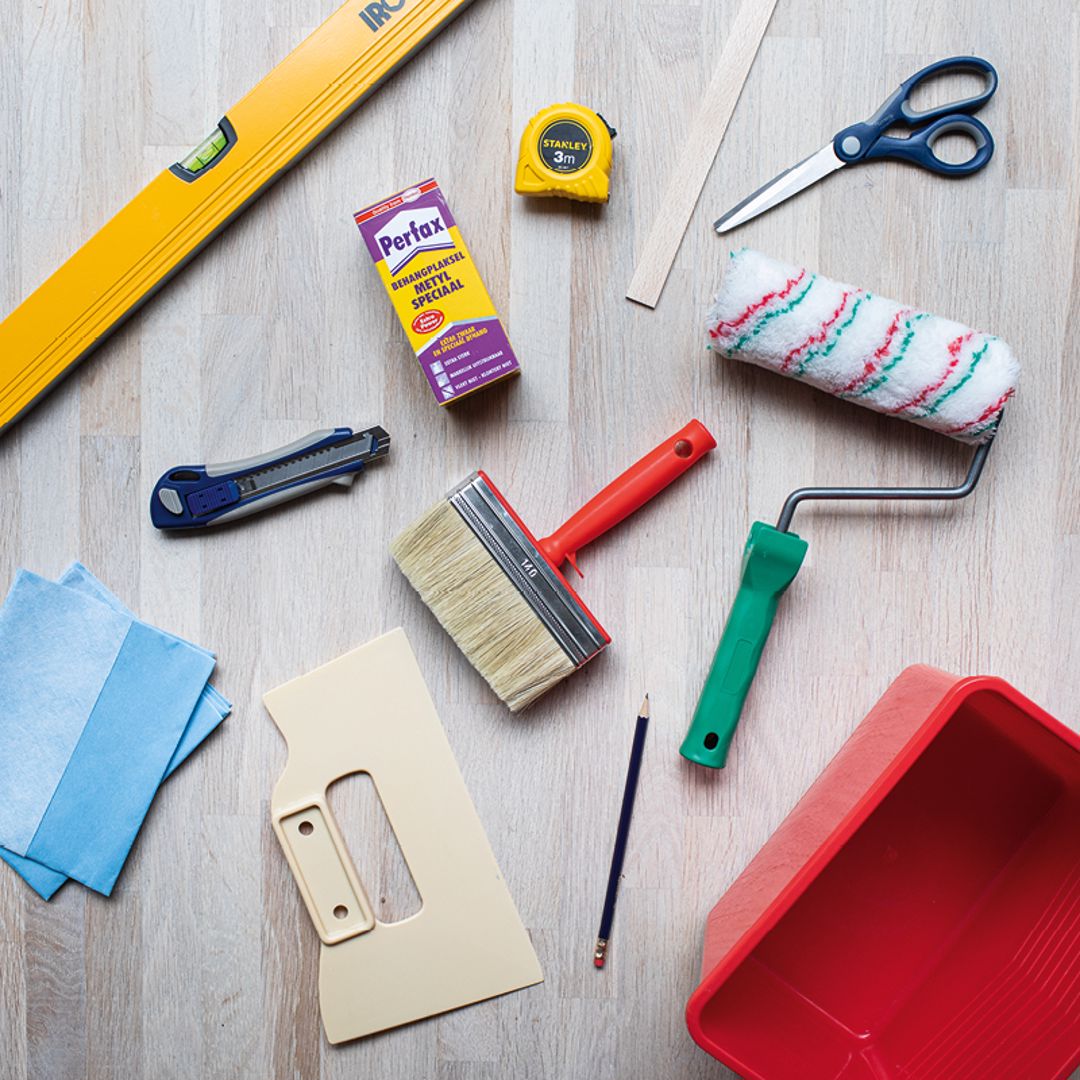
Wallpaper supplies

  • Paste the Wall wallpaper
  • Wallpaper paste
  • Bucket
  • Brush
  • Roller
  • Tape measure
  • Level/Spirit level
  • Pencil
  • Utility knife
  • Scissors
  • Smoother
  • Cloth
  • Stepladder

1. Prepare the walls

A good surface is essential for flawless results when wallpapering. Make sure that your walls are dry and clean, and fill and sand any imperfections. If you wish to wallpaper on plaster, then make sure that the wall has been painted with a primer.

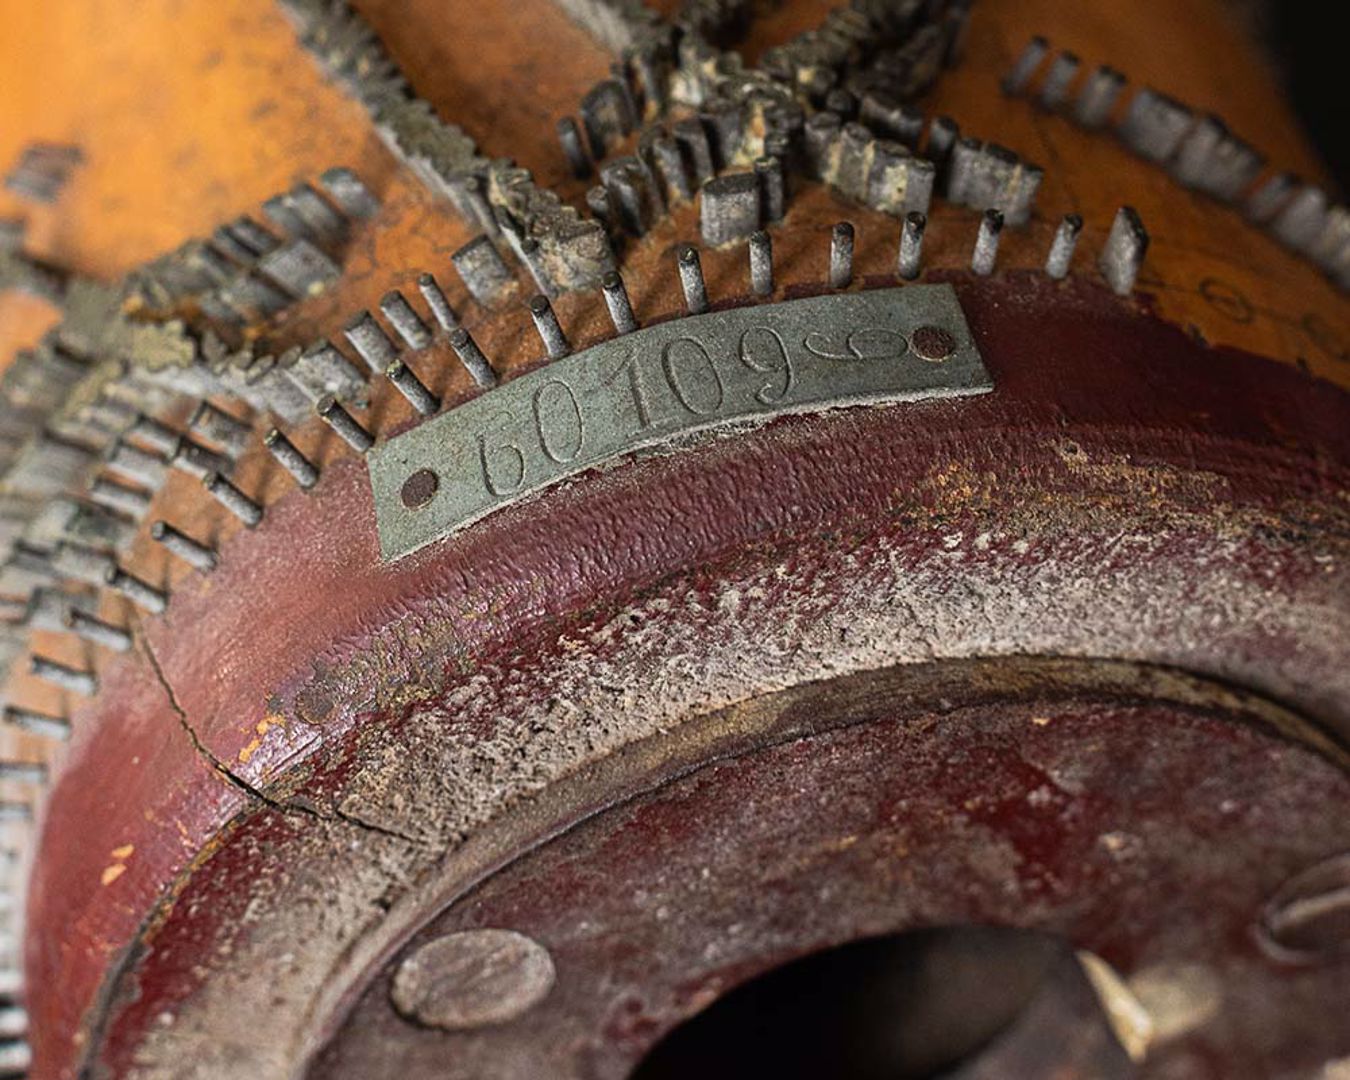
Tip: when purchasing your wallpaper, always check that the badge number corresponds!


2. Start with a straight line

Not every corner of your wall is straight. So you should never start wallpapering in a corner. If your wallpaper roll is 53 cm wide, then draw a straight line 50 cm from the corner using a spirit level. This gives you a few extra centimetres to cut off any surplus. This method enables you to create the first straight line which forms the basis for your entire wall.

Not sure how much wallpaper you require? Read this article. We explain how many rolls you need for your room.

3. Apply the paste

You can forget about the hassle of a pasting table, because with Paste the Wall wallpaper you apply the paste directly onto your walls.

Use a powder-mix or ready-made wallpaper paste. Apply the paste directly and evenly onto the wall. Make sure that there’s enough paste in the corners to ensure proper adhesion.

4. Hang the first strip

Place the wallpaper roll on the floor and roll it out in an upwards motion. Match the first strip to the line that you’ve drawn and make sure that you leave excess wallpaper to trim later (2 - 3 cm). Once the first strip is flush with the line, use the smoother to smooth out all the bubbles and creases.

Note: always use your smoother in a vertical motion. If you use it in an excessively horizontal motion, then the wallpaper may peel off and this can cause seams when drying.

5. Trim the wallpaper

Cut off the excess wallpaper using a smoother and utility knife.

6. Match the pattern

Next align the pattern of the second strip to that of the first, and cut off the excess wallpaper at the top.

You’ll find numerous wallpaper symbols on the wallpaper packaging. These provide the instructions on how to hang the wallpaper. You can read more information here

7. How to wallpaper corners

Apply your wallpapers and straighten it out in the corner of your wall. Cut a notch in the corner using the scissors, to ensure that the wallpaper fits snugly into the corners. Use the same principle when hanging wallpaper around corners. Smooth it out using the wallpaper smoother and cut off the excess wallpaper using the utility knife.

8. How to wallpaper around sockets

Turn off the power supply to the socket. Remove the socket cover plate and wallpaper over the socket. Next make a star-shaped cut-out and cut out the hole. Make sure that the hole in the wallpaper is smaller than the width of the cover plate.


Other content

How to apply non-woven wallpaper

With our step-by-step instructions for non-woven wallpaper, you can transform your walls perfectly, without any hassle. Thanks to clear explanations and accompanying labels in various languages, you can get started quickly and effortlessly.

View more

Wallpaper symbols and their meaning

For the purchase of wallpaper, you should check out these wallpaper symbols. Grandeco lists them for you in an overview.

View more